Tested on Proxmox 7.4 and 8.1
This set of instructions is a detailed guide for installing ZimaOS Beta version 1.0.0 as a virtual machine (VM) on the Proxmox VE virtualization platform. ZimaOS is the guest operating system in this setup. Here’s an explanation of each step:
1. Download ZimaOS Image:
- In this step, you are instructed to download the ZimaOS image file (
zimaos_zimacube.img.xz) from a specific CasaOS page and save it in the/var/lib/vz/imagesdirectory on your Proxmox server. This file will be used to install ZimaOS on the VM.
Things have changed since the img file is bigger it’s hosted at https://zimaos.icewhale.io/zimaos-rauc/latest/zimaos_zimacube.img.xz
wget -O /var/lib/vz/images/zimaos_zimacube.img.xz https://zimaos.icewhale.io/zimaos-rauc/latest/zimaos_zimacube.img.xz
- After downloading, navigate to the directory where you saved the image:
cd /var/lib/vz/images
- Install the
xz-utilspackage if it’s not already installed. This package is needed to extract the compressed image:
apt-get install xz-utils
- Extract the downloaded
.xzimage file:
xz -d zimaos_zimacube.img.xz
2. Create a New VM in Proxmox:
In this step, you are setting up a new virtual machine within Proxmox to run ZimaOS. The configuration includes:
- Setting the OS type to ‘Do not use any media,’ indicating that you’ll provide your own installation media.
- Choosing ‘Linux’ as the guest operating system type and selecting ‘6.x – 2.6 Kernel’ as the version.
- Configuring system settings, such as selecting ‘OVMF (UEFI)’ for the BIOS, specifying the EFI storage location, and setting the SCSI Controller to ‘VirtIO SCSI Single.’
- Disk configuration options are provided, allowing you to choose whether to delete the default disk, increment the SCSI disk number, or mount the ZimaOS image directly to the VM disk.
3. Confirm File Details:
- After creating the VM, you can use the
qemu-img infocommand to verify the details of the ZimaOS image file you downloaded. This step ensures that the image file is available and correctly configured for use with the VM.
qemu-img info /var/lib/vz/images/zimaos_zimacube.img
4. Import the Image to the VM:
- This step involves downloading the ZimaOS image using
wgetand then using theqm setandqm importdiskcommands to associate the downloaded image with the VM’s disk. The[VM_ID]in the command is replaced with the specific VM’s ID.
qm importdisk [VM_ID] /var/lib/vz/images/zimaos_zimacube.img [REPLACE_WITH_YOUR_LOCAL_STORAGE]
5. Set the Disk:
Change [VM_ID], [DISK_NUMBER] and [REPLACE_WITH_YOUR_LOCAL_STORAGE] to your specific values.
qm set [VM_ID] --scsi0 [REPLACE_WITH_YOUR_LOCAL_STORAGE]:vm-[VM_ID]-disk-[disk-number]
6. Adjust Boot Order:
- Within the VM settings, you adjust the boot order to prioritize booting from the virtual disk (
scsi0) where the ZimaOS image is installed. This ensures that the VM boots from the ZimaOS image you imported.
VM > Options > Boot Order (Disable everything except scsi0
7. Disable SecureBoot:
- To ensure successful booting, you disable Secure Boot within the VM. You access the VM’s console, interrupt the boot process by pressing
Escseveral times, navigate to the ‘Secure Boot Configuration’ option in ‘Device Manager,’ and disable Secure Boot.
Device Manager > Secure Boot Configuration > Attempt Secure Boot > Enter > Esc > Esc > Continue > Enter
8. Boot ZimaOS:
-
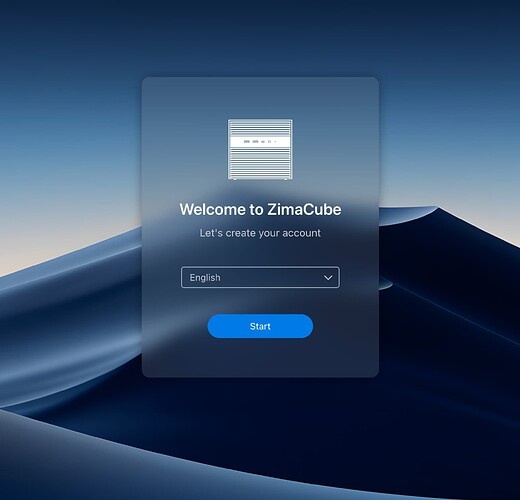
After completing the previous steps, ZimaOS should boot within the VM. It’s important to note that the VM console won’t display the IP address.
-
To find the IP address of the VM, you need to go to the Proxmox interface, navigate to ‘Hardware > Network Device,’ select the network device, click edit, copy its MAC address, and then check your router or network for the IP address associated with that MAC address.
These instructions provide a comprehensive and detailed guide for setting up a ZimaOS VM on the Proxmox VE virtualization platform, ensuring that you follow specific configurations and settings to achieve a successful installation and booting process.

